Portrait Photography
Portrait photography or portraiture is photography of a person or group of people that displays the expression, personality, and mood of the subject. Like other types of portraiture, the focus of the photograph is usually the person's face, although the entire body and the background or context may be included.
 |
| Edward S. Curtis self portrait 1899 |
When portrait photographs are composed and captured in a studio, the photographer has control over the lighting of the composition of the subject and can adjust direction and intensity of light. There are many ways to light a subject's face, but there are several common lighting plans which are easy enough to describe.
Three-point lighting
One of the most basic lighting plans is called three-point lighting. This plan uses three (and sometimes four) lights to fully model (bring out details and the three-dimensionality of) the subject's features. The three main lights used in this light plan are as follows:Key light
Also called a main light, the key light is usually placed to one side of the subject's face, between 30 and 60 degrees off center and a bit higher than eye level. The key light is the brightest light in the lighting plan.Fill light
Placed opposite the key light, the fill light fills in or softens the shadows on the opposite side of the face. The brightness of the fill light is usually between 1/3 and 1/4 that of the key light. This is expressed as a ratio as in 3:1 or 4:1. When the ratio is 3:1 this is sometimes called Kodak lighting since this was the ratio suggested by Kodak in the instructional booklets accompanying the company's early cameras.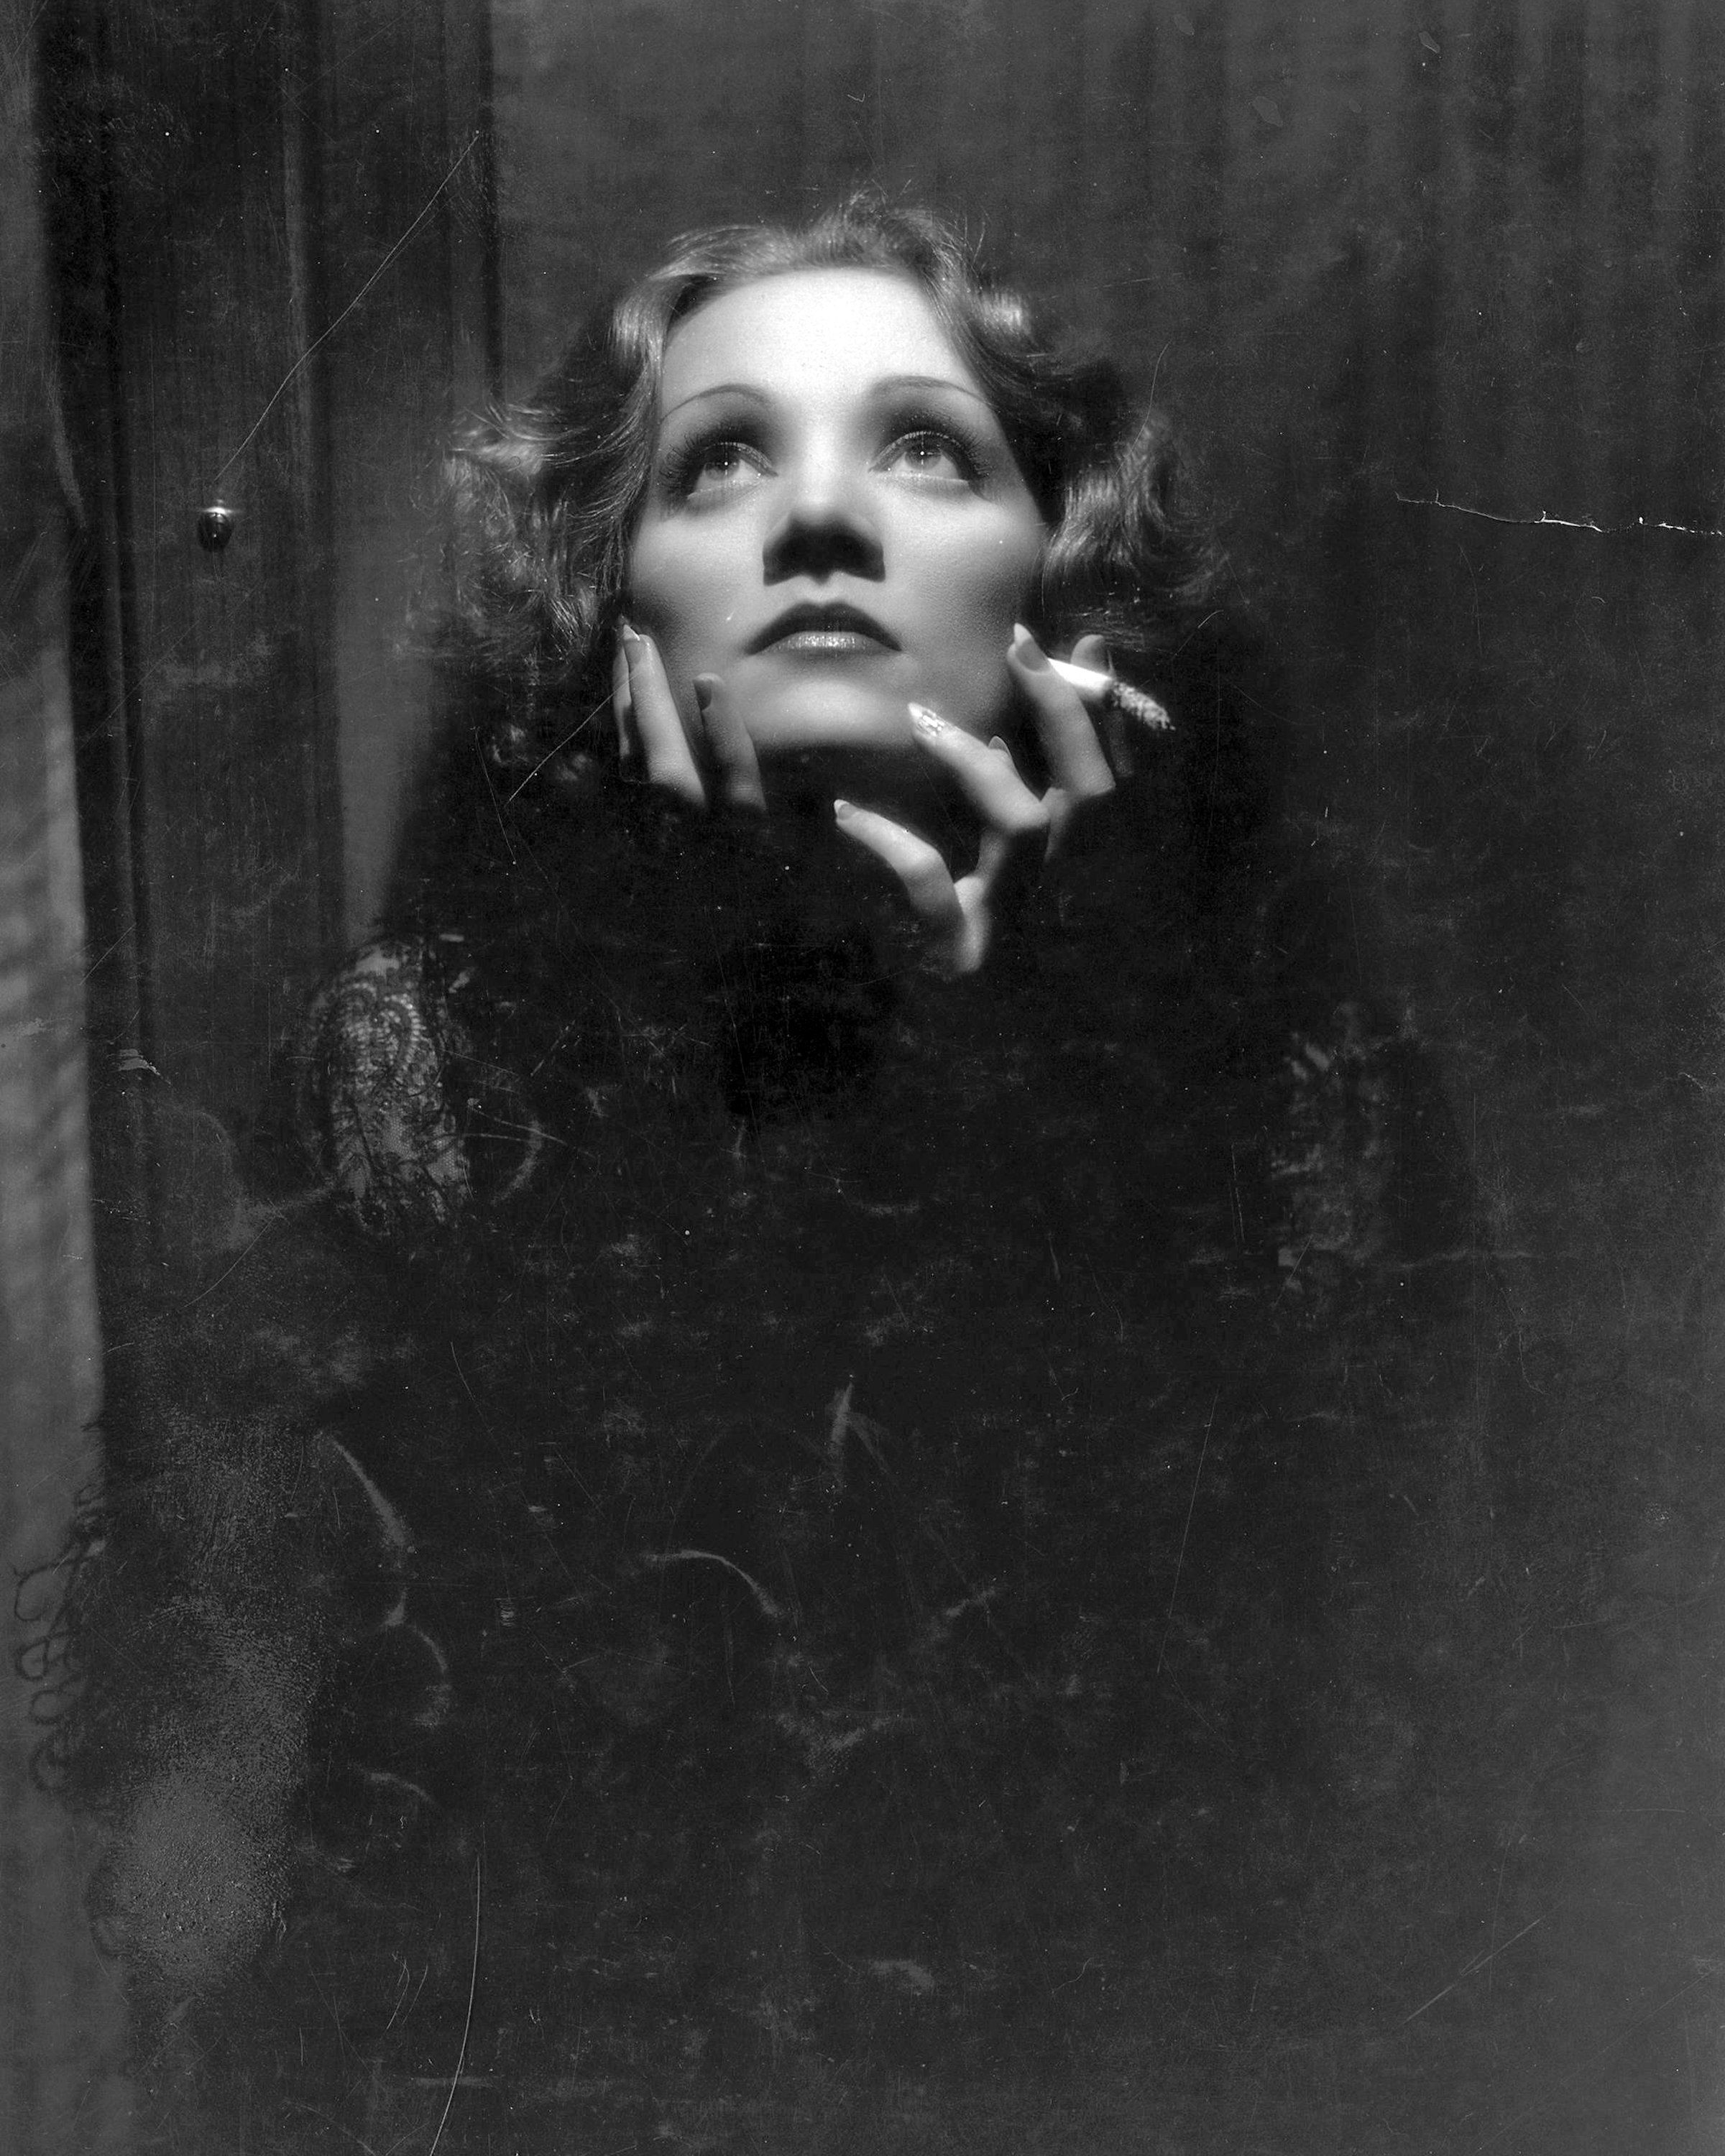 |
| The effect lighting can have on a photo |
Back light
Also called a rim light or hair light, the back light (the third main light in the three-point lighting plan) is placed behind the subject, out of the picture frame, and often rather higher than the Key light or Fill. The point of the rim light is to provide separation from the background by highlighting the subject's shoulders and hair. The rim light should be just bright enough to provide separation from the background, but not as bright as the key light.Sometimes the rim light is set just off to the side, on the fill light side. This can add edge detail to the shadowed side of your model's face. This can add the effect of having a kicker light using only the three basis lights of three point lighting.
No comments:
Post a Comment